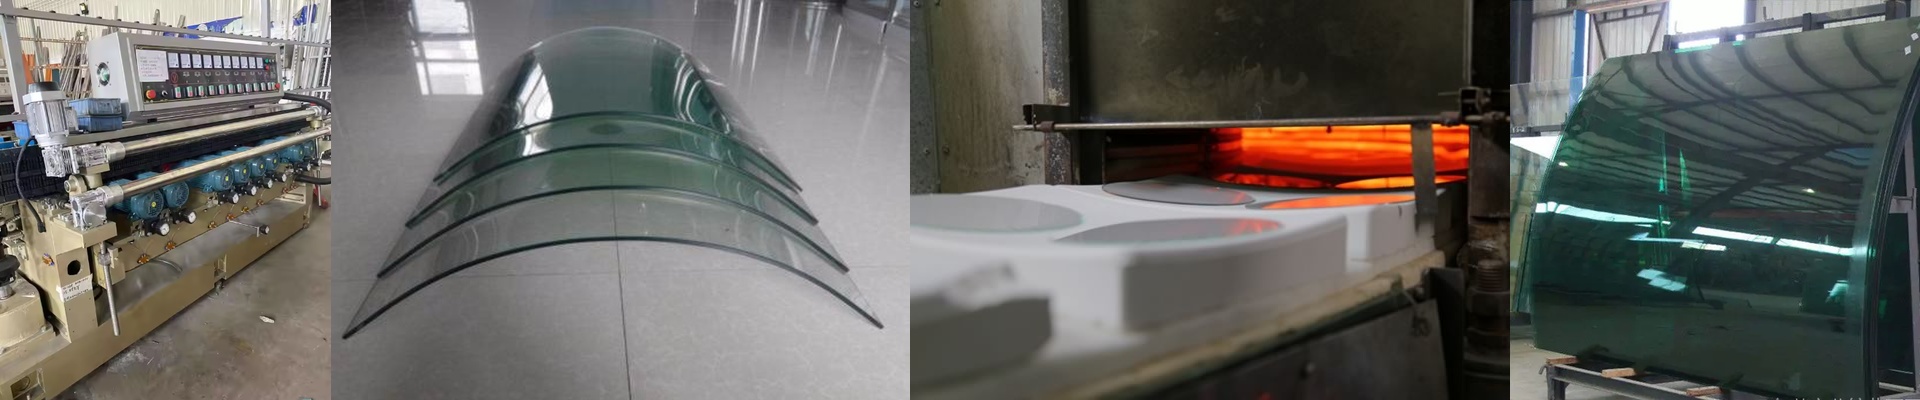
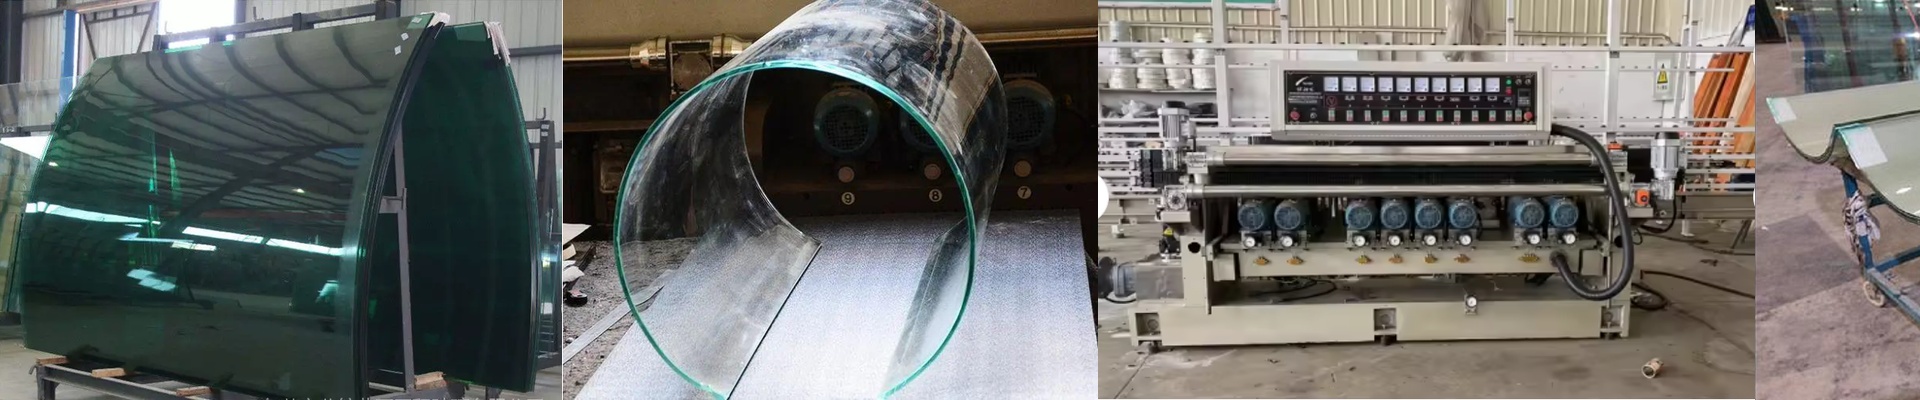
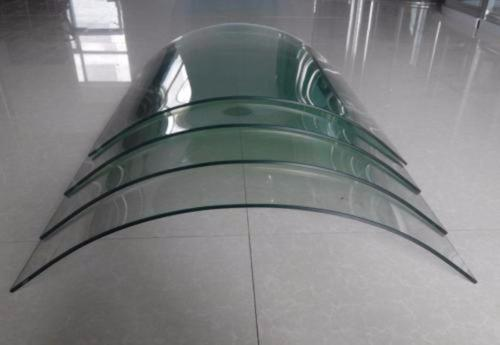
The decal is already on, and the glass is heading into the heat. The moment the door closes, the clock starts. If that thermal profile drifts—too slow, too hot, or uneven—you’ll get a different headache every time. Either the ink blisters where it’s getting localized overheat, or the adhesive layer doesn’t cure through, and the decal lifts after wash. On tempering lines, the pressure is even higher: the same heater has to deliver the ramp-up the quench demands without adding stress that can crack glass at the edges. A decal firing heater isn’t just a heat source. It’s the control point where decal adhesion, coating integrity, and the tempering thermal cycle all meet. When it’s dialed in, you stop chasing rework and start running consistent parts per hour.
What actually matters
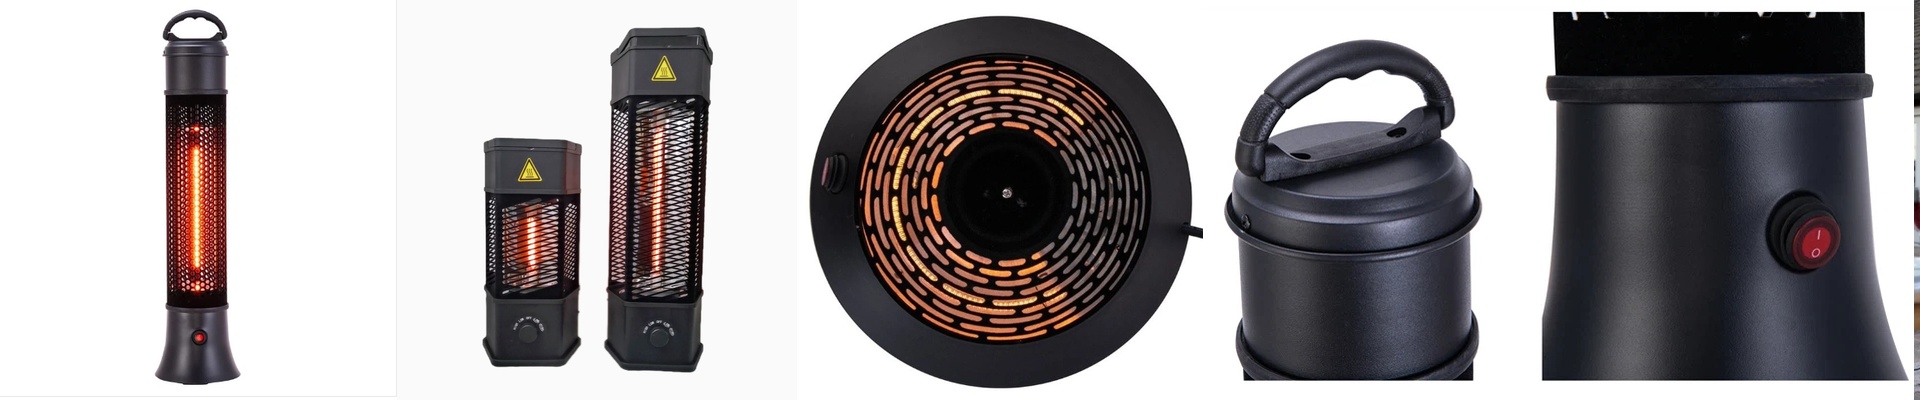
We build decal firing heaters around near-infrared (NIR) quartz elements because glass absorbs NIR efficiently, and surface heating becomes predictable. The wavelength range is tuned to get into the decal layer without soaking the bulk glass, which lowers the risk of thermal shock while the part is still constrained. The real spec is temperature uniformity, not peak temperature. In practice, you need a thermal field that stays within ±3°C across the active width. That’s what prevents the usual failures: pinholes and bubbling in the print, and weak edge adhesion where the glass runs cooler. Power is matched to line speed and glass thickness. For typical automotive and architectural glass, we size the heater to deliver 25–60 kW per meter of belt width, with a fast ramp to setpoint in under 15 seconds. That keeps short cycles moving without waiting for the zone to re-stabilize. Voltage and integration are picked for the plant floor, not the brochure. Units are available for 380/400/480 V three-phase, and we supply termination that matches your machine—DIN rail, screw terminals, or quick-connect—so the retrofit doesn’t turn into a cabinet redesign. The heater body is built for glass plant reality: quartz and ceramic components stand up to rapid cycling, and the housing keeps external surface temperature manageable so it doesn’t turn the surrounding enclosure into an uncontrolled heat sink.
Why this fits the way the line runs
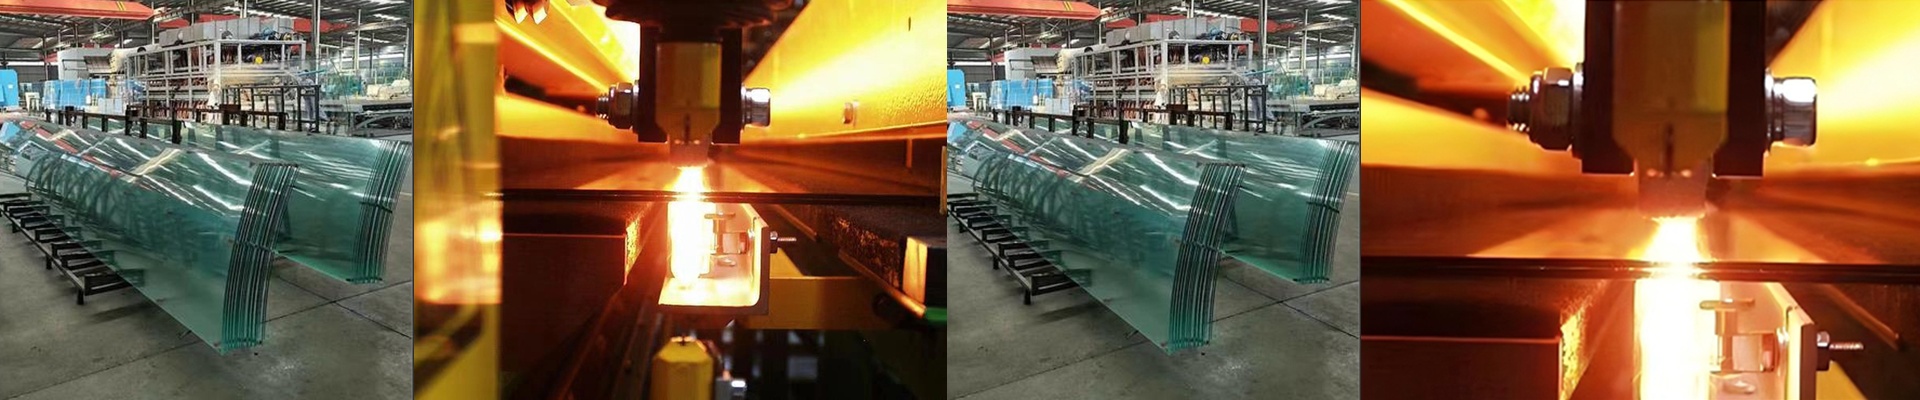
In a tempering line, the decal firing step sits inside the heating furnace, right before quench. If the heater can’t hold a tight profile, the tempering curve drifts and glass strength starts to wander. With a stable thermal field, you keep the tempering cycle repeatable while the decal cures. That means fewer rejects from both decal failure and variable temper. On coating and lamination lines, the decal often goes on after the main thermal treatment, but it still needs a controlled, fast cure. NIR delivers energy quickly without leaning on heavy convection, so you avoid the airflow turbulence that can cause uneven gloss and surface defects on coated glass. For insulating glass and automotive glass, decal adhesion is a safety and traceability requirement. Under-cure, and the decal can peel in service. Over-cure, and the ink loses elasticity and cracks during handling. The heater’s job is to hit a repeatable soak profile—typically 140–180°C at the glass surface for a defined dwell—then cool fast enough to keep the line moving. Energy use isn’t theoretical. Over a 12-hour shift, a poorly matched heater can waste 15–20% of the heating energy just compensating for drift and overshoot. A properly sized NIR decal firing heater follows the curve, then backs off to hold it, cutting average power without shorting the cure. Drop-in replacement matters because downtime costs. We design the heater envelope to fit common OEM footprints so it drops into existing zones without modifying the machine frame. The point is simple: install, retune the controller, and run the same cycle with fewer interruptions.
What you need to watch
NIR heats fast, but it’s sensitive to geometry and emissivity. Dark inks and metallic layers absorb more energy, and thin edges heat faster than the center. The system needs a clear line-of-sight path, and the decal has to sit within the defined heating window. Change the part layout, and the thermal profile needs re-verification. Installation is straightforward, but alignment isn’t optional. The heater has to be parallel to the glass surface to maintain uniformity. Misalignment shows up as a repeatable hot band or cold band, and you’ll chase it for days. And remember: NIR heats what it sees. Reflective shields, nearby fixtures, even belt guides can create shadows and reflections that distort the field. Set up the zone so the heater sees the glass, not the machine structure. Finally, the heater works with most industrial controllers, but the tuning has to match the physics. Use a PID or profile controller that can handle the fast response of NIR elements, and confirm the sensor location. Put the sensor in the wrong spot, and the controller will chase the wrong temperature. If you’re running tempering, lamination, coating, or insulating glass lines, the decal firing heater is where the process stops being guesswork. Set the profile once, verify it, and then let the line run by the numbers.