Making Infrared Heaters Actually Survive Wet Environments
When you’re putting infrared heaters in a spot that’s damp or misty, you’re fighting more than just a few splashes of water. The real killer is the cycle of heating up and cooling down while moisture is hanging around. Most standard heaters just can’t handle it. Condensation sneaks into the electrical terminals, and before you know it, you’ve got a short circuit or a heating element that’s rusted through. It’s a mess.
What IP65 actually means for you
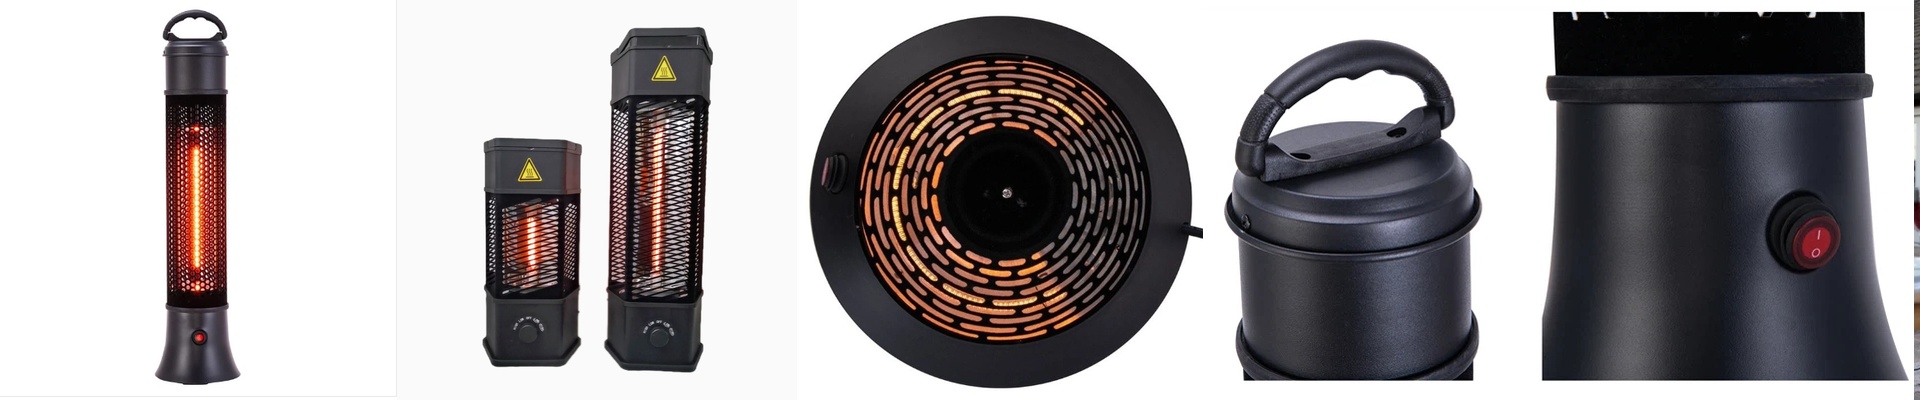
You’ll see “IP65” on the spec sheet, which is just a fancy way of saying the unit is dust-tight and can take a jet of water from any direction without flinching. We make this happen by using high-temp gaskets to seal the housing and moisture-proof cable glands. It keeps the fog and splashes away from the live wires. In the real world? It means you can hose down your shop floor or run the heater in a humid zone without worrying about the whole thing blowing a fuse the second things get damp.
The fight against fog
Then there’s the fogging issue. We handle this by managing the surface temperature of the outer lens. If you let dew settle on a hot infrared tube, you get these “cold spots.” The glass then experiences uneven stress, and eventually, the quartz just cracks. By keeping the internals dry and the heat gradient steady, the warmth stays consistent across the whole element. No cracks, no surprises.
The honest trade-offs
Now, nothing is perfect. Waterproofing requires a physical shield, so these heaters take up more room than a bare-tube lamp. You also lose a tiny bit of heat efficiency because the casing absorbs a fraction of the radiation. You’ll want to keep that in mind when you’re figuring out how far to mount the heater from your target. One last tip: if you’re swapping out an old, non-waterproof unit, double-check your brackets. The IP65 housing has some extra weight to it. You’ll need a sturdy frame so it doesn’t start sagging after a few months.