Getting the Balance Right: Silk-Screening and Tempering
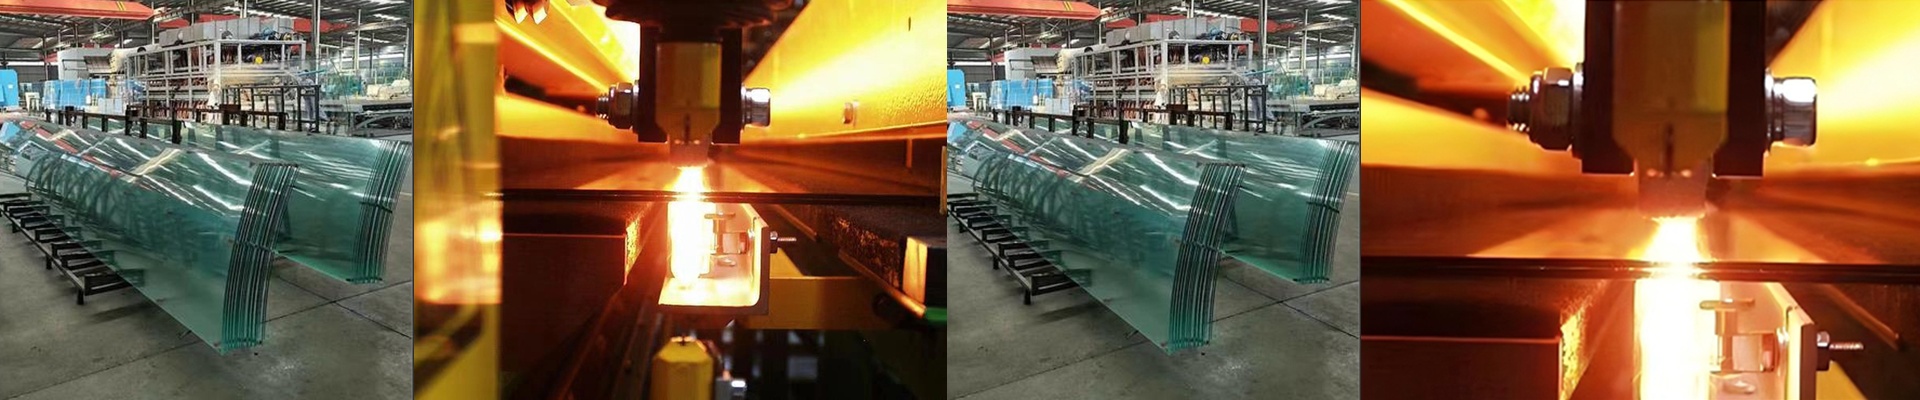
If you’ve ever tried to combine silk-screen printing with tempering, you know it’s a bit of a tightrope walk. You’re basically trying to melt ink into the glass without accidentally warping the sheet or burning the design to a crisp. It’s all about how you handle the heat. We use shortwave infrared (IR) lamps to hit that sweet spot.
The Heat Struggle
Here’s the thing: ink and clear glass don’t react to heat the same way. The printed parts soak up that IR radiation way faster than the clear sections. If you just crank up the power, the ink overheats long before the center of the glass even gets close to the tempering point. That’s when things go south. You get those blurry edges or “bleeding” patterns that make the whole piece look sloppy. To stop that, we spend a lot of time obsessing over lamp wattage and where they’re placed. The goal is to get the heat deep into the glass while keeping the surface temperature within a tight 20°C window.
The Gear That Actually Works
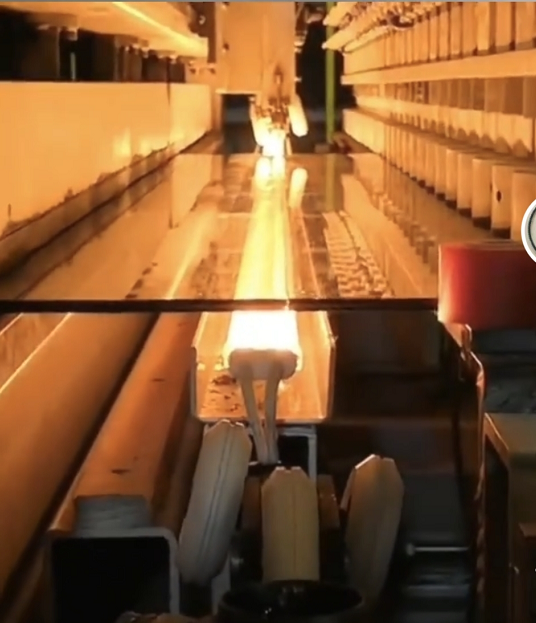
You can’t just trust a basic oven thermostat for this. It’s not precise enough. Instead, we use high-speed pyrometers and IR sensors. They watch the glass surface in real-time and tell the PID controller exactly what’s happening. If the sensor sees a temperature spike, the power drops instantly. We use shortwave quartz lamps because they react fast. No lag, no guessing.
Speed vs. Quality
It’s tempting to push the line faster to get more out the door. But there’s a catch. Higher power density means more speed, but it also means a higher risk of thermal shock. If you push the lamps too hard just to move the conveyor faster, your pattern sharpness will take a hit. Most of us have found that a tiered approach works best. We do a bit of pre-heating first, then hit it with a precision strike. It keeps the ink from running, but the glass still comes out strong and safe.